
How to Create a Gallery Wall: The Complete Guide
- Comments Off on How to Create a Gallery Wall: The Complete Guide
- by Meredith
Gallery walls are very popular in the home decor world. They can add personality and character to any room, and are relatively easy and affordable to create. In this post, we’ll be teaching you all about how to create a gallery wall – from choosing your art and location to selecting and hanging your frames – you’ll learn how to create a gallery wall with these easy tips.
As an art print store owner, I absolutely love gallery walls! They add such an impact for the cost of some art prints, printed photos, and picture frames. Today, we’re going over the five steps to create your own gallery wall – and there’s a special freebie for you down below too!
Step 1: Choose Your Art
The first step in creating your gallery wall is to choose your art! You can choose family photos, art prints, or a mix of the two with sentimental items too. You are not limited to conventional frames and sizes! You can add in hanging canvas banners, found objects (I have a faux turtle shell hanging in my son’s room!), anything that is appealing to YOU and your decor style.
The number of art pieces you select may also determine where you hang your gallery wall, what frames you use, your layout, etc. so it is best to choose the items first.
Step 2: Choose your Location
The best place to put a gallery wall is going to vary in each home. You may want to put it in a room that is used often so you can see it frequently, or have it on a large wall in an empty space to create a focal point in a less-used space. Hallways, behind the couch, and in a dining room are the most popular places but it will vary depending on your home layout. I would love to have a gallery wall behind my couch, but it’s up against a window which leaves that out of the question.
If you don’t have a lot of space, you can put a gallery wall in a corner, above your bed or above a console table.
Step 3: Choose the Right Frames
Choosing the right frames is important when creating a gallery wall – in size, color, style and material. Depending on your gallery wall art, you don’t need to choose all frames that are exactly the same! You can mix and match frames and still have an amazing gallery wall – as long as the frames all compliment each other.
Choose the right size: You may want your gallery wall to have a consistent size frame, and choose the size based on your available space. Or you may want a mix of frames in different sizes, but the same style.
Choose the right color: A gallery wall should have a cohesive color scheme, so choose a color that will work together both with the decor in your space and the other frames in the arrangement.
Choose the right material: Frames can be made out of wood, metal, plastic or glass. The material will affect the price and how sturdy the frames will be, and your glass options may affect how protected your art prints are from sunlight or dust.
Choose the right style: There are a variety of styles to choose from, such as traditional frames with glass fronts, modern frames with sleek lines or varying vintage frames in fun shapes. You can choose all one style or have a mix and match look.
Step 4: Layout Your Gallery Wall
There are a wide variety of gallery wall layout ideas to choose from – we even have an entire Pinterest board dedicated to it!
You’ll want to arrange the art on the wall in a way that is both visually appealing and functional. You can test out your arrangement by cutting out pieces of paper (can be recycled newspaper, wrapping paper, etc – anything you have lying around that is the same size as your frames or artwork) in the same size as each piece of art. Then, try out different layouts on the floor and arrange (and rearrange!) each piece in a visually appealing way until you have your final layout.
Some of the most common gallery wall layouts are:
Symmetrical Gallery Wall
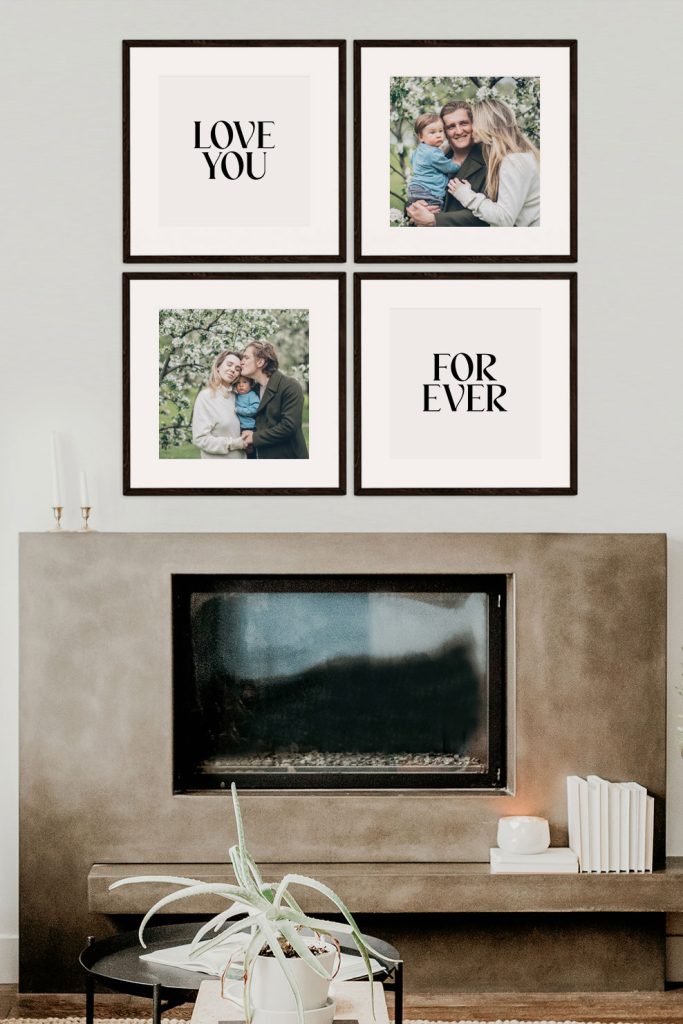
Prints featured: Love You For Ever Modern Print Set
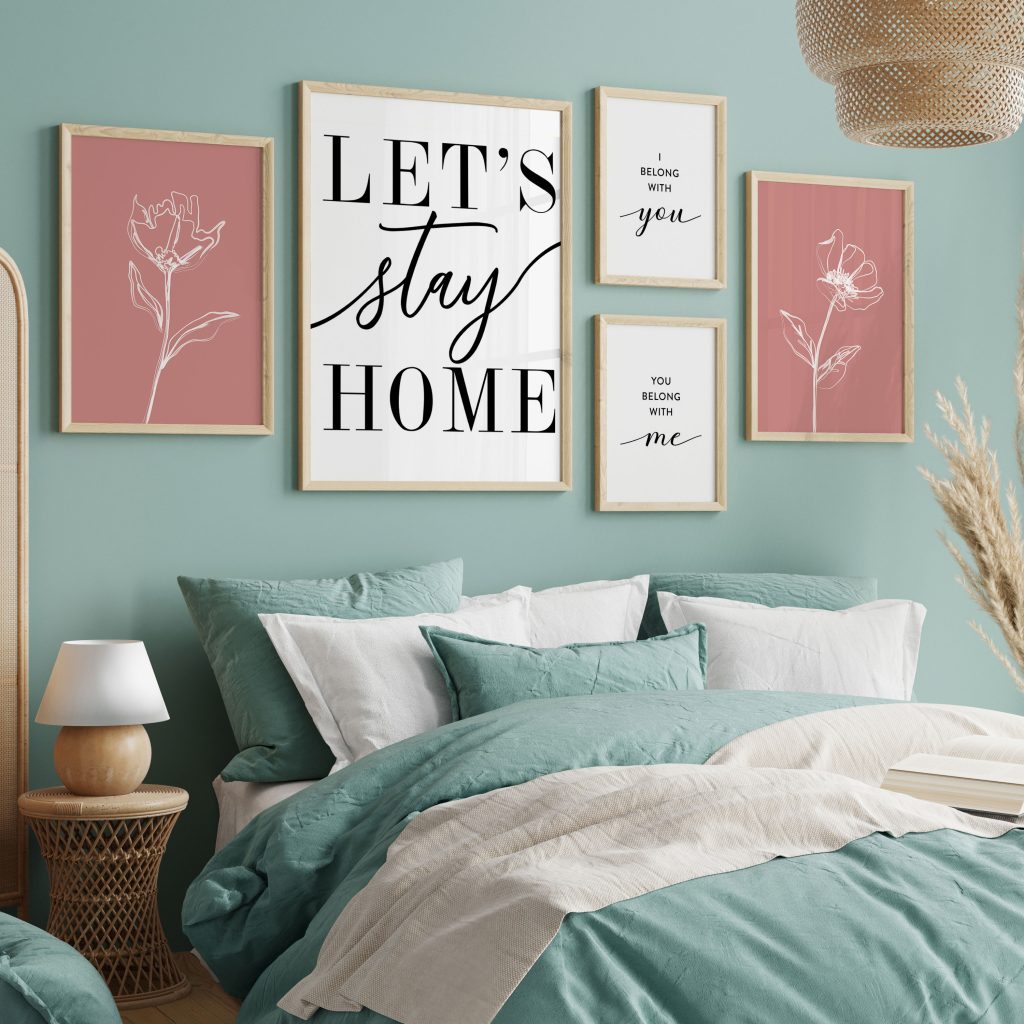
Asymmetrical Gallery Wall
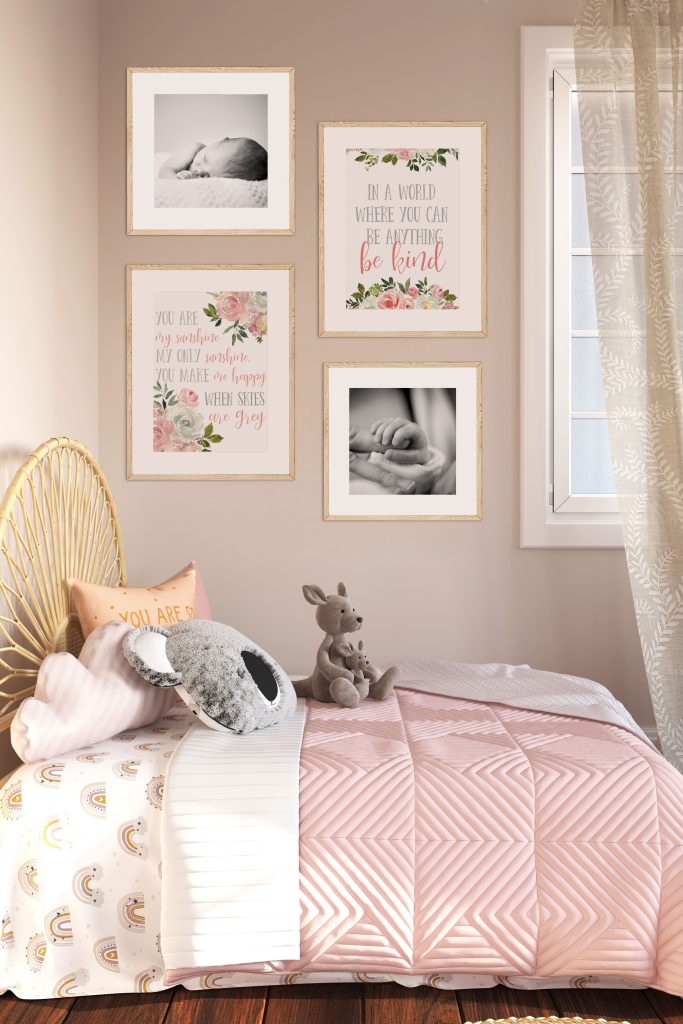
Grid Gallery Wall

Prints featured: Vintage Florals Collection
Random Gallery Wall

Trio Gallery Wall
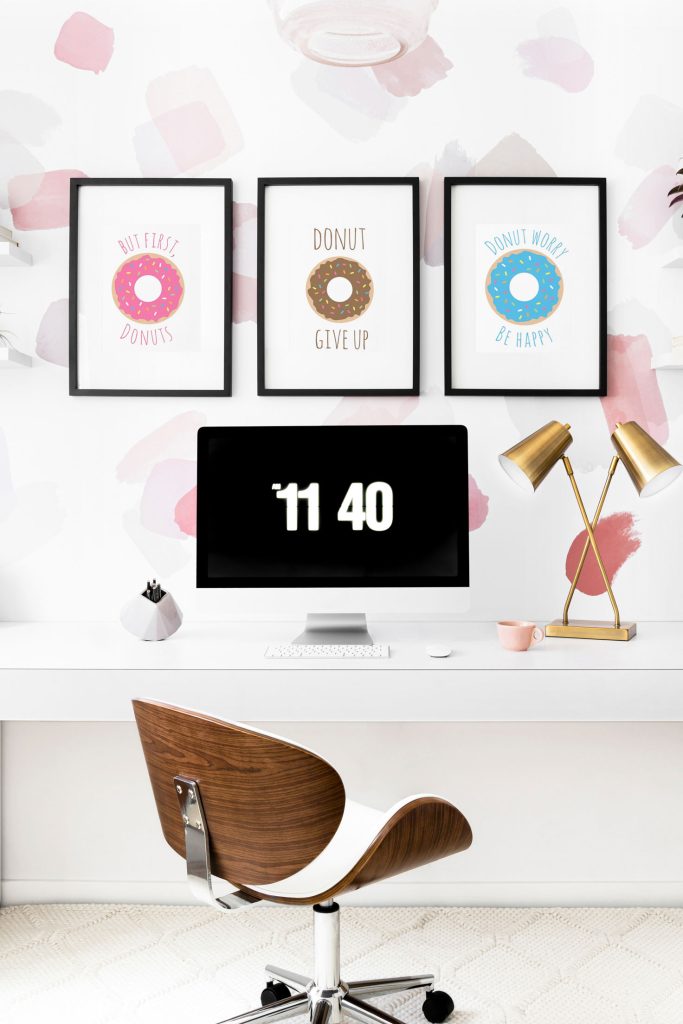
Prints featured: Set of 3 Donut Prints
Step 5: Hang Your Frames
Hanging your artwork is easy! Here’s what you need to hang your artwork:
• Stud finder or drywall anchors (for heavier frames)
• Level
• Drill or Hammer (depending on your hardware)
• Screwdriver
Make sure to measure the distance from the floor to the top of the frame and mark it on the wall where your frame hardware sits. If you made templates out of paper, you can hang these up on the wall and mark where your hardware needs to go on the paper rather than directly on your wall, and use it as a template for hanging.
Then, use the level to mark the position of the studs. Once you have marked the studs, use a drill and a screwdriver to screw in the screws. Be sure to use a level while you are installing the frame to ensure that it is straight on your wall.
If you don’t want to put a bunch of holes in your walls (or are renting and can’t put holes in your wall!), command strips are a great option to hang your gallery wall. Just be sure to get the correct size command strips for your size and weight of frame!
Gallery walls add personality and character to any room. Following these simple tips will make it easy to create your own gallery wall! If you’re looking for more in-depth information about gallery wall ideas, inspiration, and tips – be sure to download our FREE Guide to Creating a Gallery Wall below. It even includes a stellar discount code for our digital art prints to start sourcing the art for your next gallery wall.

Enter your details below and we'll send you the Complete FREE Guide to Creating a Gallery Wall
Thank you!
You have successfully joined our subscriber list.